0
items
$0


Simple Saturday: Anasazi Cave Art
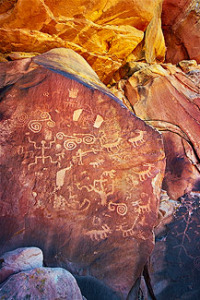
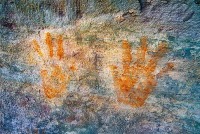 Photos taken by Tony Kuyper A quote from Flood's Sand to Stone and Back Again, "I shelter deer, pack rats, antelope, and bats. And hikers, like you, or long ago, the Ancient Ones. In my canyons the built their homes, painted pictures, carved messages, and left handprints."
 Pretend that you are an Ancient One living hundreds and hundreds of years ago in a cave located in the great Southwest with a desire to communicate, to express yourself artistically, or to just have some Simple Saturday fun! Let's take our Styrofoam meat tray, scissors, tempera paint, small art brush, small something to carve with, and piece of paper and roll back the hands of time, shall we?
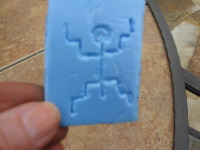 Here's what we'll do:
Cut Styrofoam meat tray into 3 X 5 in. pieces. Carve a petroglyph into one of the small pieces. (Petroglyph is another word for cave art.) Brush tempera paint onto the petroglyph stamp. Press stamp onot piece of paper.
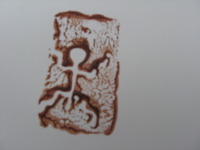 Great Gods! You've created cave art!
Study the cave art in the photos above. What ones speak to you? What do you think the Ancient Ones were trying to say? Be a Anasazi and create your own image, you little Simple Saturday wise one.


