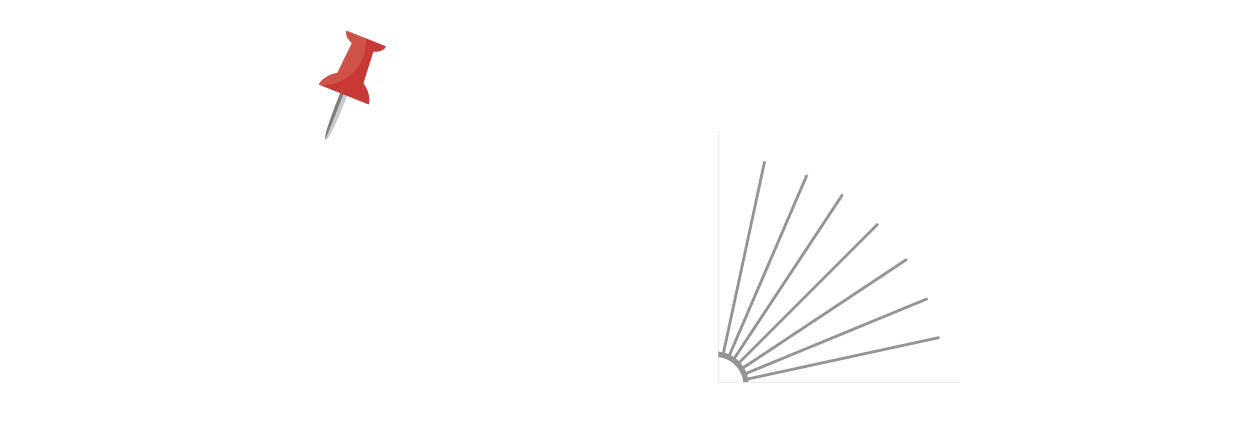
 Got the goods? An index card, a Sharpie, pencil, paper, and something small that has magnetic appeal over you? Something that you just have to have. Something that you love! This messy girl pictured and I share the same lustful craving for something incredibly smooth, creamy, milky sweet and wonderful. Chocolate!!!!
Chocolate has a powerful magnetic pull on me. For a mouthful of that wonderful stuff I am willing to shift from place to place anytime. And, if you take it from me I will shrink back to where I began. Same goes for converting decimals to percentages using the Metric Worm. I'll show you what I mean.
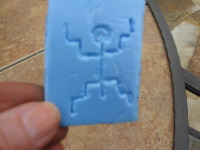
 This week's index card Metric Worm has only four place value marks on it; one for the ten's place, the one's place, the tenths place and the hundreths place. Note in the center of the worm there is a mark for the roving decimal. In addition, there are two opposing arrows, one pointing to the right toward a percentage sign and another toward the left toward a crossed-out percentage sign. Also note my magnet of choice...a Hershey's mini chocolate bar.
A slinky something to keep in mind: While we work with the percentage wiggler remember that, since there are only two zeros in the number 100, we're only going to be shifting two place value spaces.
Let's begin with changing a decimal to a percentage. Take, for instance, the number .25. How will the worm help us to change it to a percentage? Watch this.
 Lay the worm on the paper. Rewrite .25 placing the decimal and the numerals in their proper places. Lay the percentage magnet to the right of the card (In my case, the piece of chocolate).
 Oooo! Oooo! I feel the magnetic pull one space to the right of the fat decimal. Notice that the decimal has moved between the number 2 and 5? To change the decimal into a percentage, AND to get my prize, let's move another space to the right. Remember the slinky something rule?
 Ooooo. There's that pull again. Watch how we will move to right one more time. Think of the percentage sign as a magnet pulling the decimal toward it. All you need to do the change a decimal into a percentage is to move the decimal over two spaces to the right. That's all there is to it.
 Yay! Not only have we changed .25 to 25%, the piece of chocolate is mine!
.25 = 25%
Easy, isn't it? Sweet, too.
All right, let's travel the other way. Let's change a percentage into a decimal. The same principles apply, only this time we will remove that magnetic pull of the chocolate percentage sign and will wiggle to the left through the two places.
 How about let's transform 15% into a decimal. See how I have rewritten the numeral 15% using the Metric Worm as a guide? The number 5 is above the one's place and the number 1 is above the tens? Notice how my chocolate percentage magnet is holding things steady? Watch what happens when the percentage magnet is removed.
 Without the percentage sign to hold it steady the wiggler begins to move to the left of the decimal. We're making a decimal out of a whole number, aren't we?
Here the decimal has moved between the number 1 and the number 5. How many spaces are we supposed move when working with percentages? Yeah! You're right! Two.
 Here we go. Since we do not have that percentage magnet pulling on us any longer, the decimal is shrinking back one more space to the left.
Ta da! Look what we've done!!! Our number has now become .15!
 So, without the magnetic pull of the percentage sign, or when we removed my chocolate magnet, the decimal shifted two place value spaces to the left changing 15% to .15. The marvelous Metric Worm does it again!!!!
 Enough of this decimal/percentage stuff. I can't stand it any longer.
Yum.
Yum.

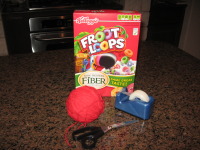
 Ready to bamboozle even the most die-hard cynic? You have the supplies, right? The 3 lids, the quarter, the tape, and your head? Actually, we only need a single hair from your head, not the whole bowling ball.
  Go head. Grit you teeth and pull out one of the longest hairs you can find. Oh, hush....it doesn't hurt that bad.
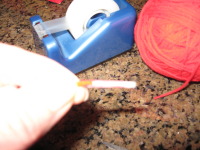
 Ask for a volunteer from the audience to assist you in performing this astounding trick. Lay the quarter, hairy side down, on the table.


